What this is. Opinion + Experience + Fact (25% opinion · 40% experience · 35% fact). Written in collaboration with AI — I discuss, I do not outsource.
You pick a part off its datasheet and design it in. But a datasheet describes the part under the maker's test conditions — not yours. Closing that gap is real engineering, and the cheap time to do it is while you're still choosing the part. Here's how part verification actually works, and why it belongs at design-in.
Every hardware team has a version of the same scar: a part that "met its datasheet" and still failed — in the field, months after launch, in a way nobody traced back to the component. It usually wasn't a counterfeit or a defect. It was a genuine part, behaving exactly as specified — under conditions that weren't yours.
Part verification is the work that prevents that: proving a candidate part does what your product needs, in your conditions, before you commit to it. Let me walk through why the datasheet isn't enough, why verifying is an engineering task rather than a spec read, and why the moment to do it is at selection — not in the field.
1. A datasheet is written under someone else's conditions
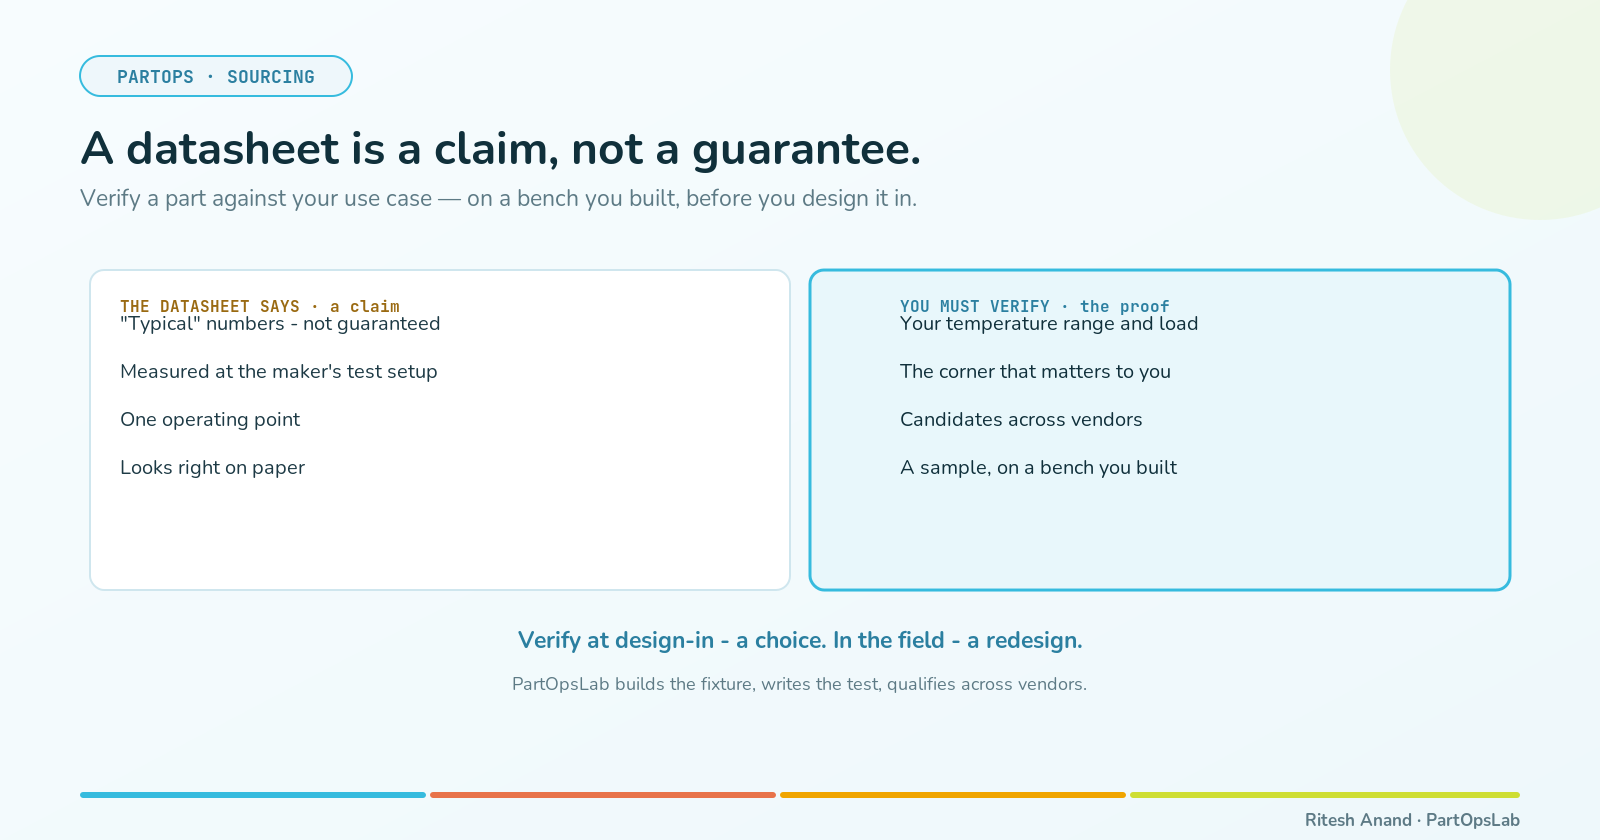
A datasheet is a claim, and a narrow one. Its numbers are measured against a specific test setup — a particular circuit, temperature, and load the manufacturer chose. Change any of those, and the guarantee doesn't necessarily travel with you. A part characterized at 25°C on the maker's evaluation board is not promising you the same behaviour at the top of your temperature range, on your board, under your load.
Worse, much of what a design leans on isn't guaranteed at all. Many parameters are given only as "typical" values — and typical numbers carry no promise of a range in mass production. The parameters you can actually design against are the guaranteed minimums and maximums; the typicals are marketing-adjacent hints. That is why serious teams design to worst-case limits, not to the pretty middle number.
▸ First principle. A datasheet tells you what a part does under the maker's conditions, not under yours — and "typical" is a hint, not a guarantee.
2. Verifying it is engineering, not a spec check
Here is what "verify the part" really means, and why it gets skipped: it is an engineering project, not a reading exercise. To prove a candidate against your use case, you usually have to build a small test fixture and write the test software to drive the part across the conditions your product actually sees — your temperature range, your supply and load, the timing corner that matters to you. Then you take a sample of the part, characterize it across those conditions, and see whether it holds where the datasheet only promised "typical."
Note what this is not: it is not testing every part you'll ever buy. That's neither possible nor the point. You are qualifying a candidate — proving one representative sample against your conditions and turning it into a reference. Once you have that reference, incoming lots can be sampled and checked against it later. But the expensive, decisive work — the fixture, the test code, the characterization — happens once, up front, on the part you're deciding whether to trust.
▸ First principle. Verifying a part against your use case takes a bench and test code — it is engineering, not a datasheet read; you prove a sample, not every part.
3. Verify to choose — at design-in, not in the field
The same fixture and test that verify one part also let you choose between several. Run the check across candidates from more than one vendor, and you are no longer just asking "does this part pass?" — you are asking "which of these holds up in my conditions?" The winner isn't the part with the prettiest datasheet; it's the one that proves itself on your bench. That is how a considered second-source or a primary part gets chosen, rather than defaulted into.
And the timing is the whole point. Do this while you are still selecting the part, and a change is cheap — you pick a different candidate, and the design moves on. Discover the same gap after you've designed the part in, and it's a redesign; discover it after you've shipped, and it's a field failure or a recall. The cost of the same lesson climbs by orders of magnitude the later you learn it, which is exactly why verification belongs at design-in, when changing your mind is still just a decision.
▸ First principle. Verify to pick the right part and vendor at design-in, when changing it is a choice — not in the field, when it is a redesign.
Part verification isn't glamorous, and it isn't free — it's a fixture, some test code, and the discipline to prove a part before you trust it. But it's the difference between designing in a component you've proven and one you've hoped. This is the quiet work we do at PartOpsLab: build the bench, write the test, and qualify candidate parts across vendors against your use case, so the part you design in is one that's already held up where it counts — in your conditions.
Sources
Datasheet ratings are specified against a defined test setup and hold only at those conditions; "typical" parameters are not guaranteed in mass production — see general component-engineering guidance (EPS News, "Unraveling Component Truth From Datasheets") and standard practice for designing to guaranteed min/max via worst-case circuit analysis. Component evaluation/qualification (characterizing a sample across thermal and electrical stress, then qualifying a lot) is standard reliability practice. This piece describes method and experience; it carries no measured statistics.
FAQ
Why isn't a datasheet enough to choose a part?
Because a datasheet describes the part under the manufacturer's test conditions — a specific circuit, temperature, and load — not yours. Many parameters are given only as "typical" values, which carry no guarantee in production. You can design against the guaranteed minimums and maximums, but to know a part holds in your conditions you have to verify it there.
What does "verifying a part against your use case" actually involve?
Building a small test fixture and writing test software to drive the part across the conditions your product sees — your temperature range, supply and load, and the timing corner that matters — then characterizing a sample and confirming it holds. It's an engineering task, not a spec read, which is why teams often skip it.
Do you test every part?
No — that isn't the point. You qualify a candidate: prove one representative sample against your conditions and make it the reference. Later, incoming lots can be sampled and checked against that reference. The decisive work is done once, up front.
When is the right time to verify a part?
At design-in, while you're still selecting. A change then is a decision; the same gap found after you've designed the part in is a redesign, and found in the field it's a failure or recall. Verifying early is also how you choose between candidates from multiple vendors — the one that holds up in your conditions wins.
This is a PartOpsLab field note. The short version lives on my LinkedIn; the longer story, and how we run part verification, lives on my profile.
Stay in the loop
New essays on embedded systems, firmware quality, and engineering craft. No noise.
Discussion
No comments yet. Be the first to share your thoughts.
Leave a comment